Networking
How to Find Camera IP Address
Locate the camera before using Security Eye manual setup.
Read guide
Setup
Connect a network camera, discover it automatically or enter it manually, test the video stream, and finish the settings that matter most.
Before adding an IP camera to Security Eye, make sure the camera itself is powered on, connected to the same local network as the Windows PC, and reachable through the camera manufacturer's app or web interface. Doing that first separates camera/network problems from Security Eye configuration problems.
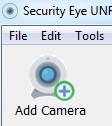
Open Security Eye and click Add Camera on the toolbar.
Choose Network (IP) camera. If the camera is already configured and working on your network, continue to the discovery step. If it is not yet working, complete the manufacturer's initial camera setup first.
Security Eye scans the network and can list devices it finds through UPnP and ONVIF discovery. If your camera appears, select it and continue.
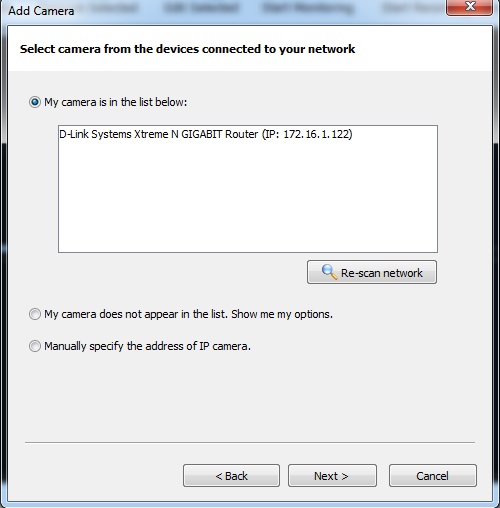
Automatic discovery is convenient, but a camera not appearing in the list does not necessarily mean it cannot be used. Discovery can fail because of network segmentation, disabled discovery protocols, Wi-Fi isolation, firewall rules, or camera-specific behavior. Security Eye therefore also provides a manual setup path.
Choose the option to manually specify the IP camera address. Use the network information supplied by the camera manufacturer. Depending on the camera, this can include its IP address, port, camera model/profile, or stream address.
Many network cameras expose video using RTSP, while ONVIF can provide standardized discovery and media information. These technologies are related but are not the same thing. If you are troubleshooting compatibility, read ONVIF vs RTSP for Security Cameras.
If the camera requires authentication, enter the credentials configured on the camera itself. Do not assume that the Windows account, router password, or Security Eye Web Access password is the same as the camera password; these are separate credentials.
If you do not know the camera login, consult the camera's own documentation or administration interface. Avoid leaving a blank or factory-default password on a camera that will remain connected to your network.
Security Eye provides a connection test before the camera is added. Click Connect & Test and wait for the preview.
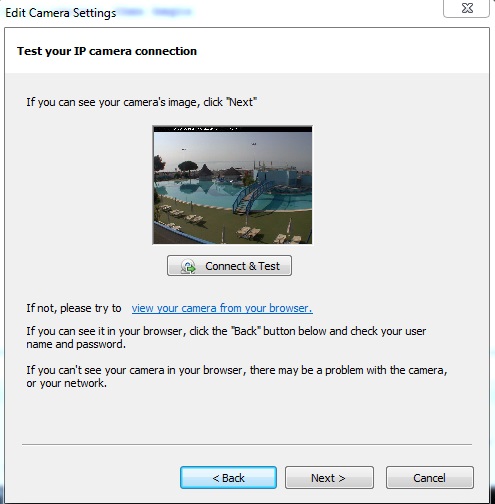
If you see video, continue to the next step. If you do not, troubleshoot from the simplest layer upward:
Choose a descriptive name such as Front Door, Garage, Reception, or Warehouse East. Clear names matter once you have several cameras, especially when you configure schedules, notifications, recordings, or review captured events later.
After the connection is complete, review the settings that control the camera's behavior:
Do not enable every option at once. First confirm stable video. Then configure recording. Then tune motion detection. Finally add notifications and schedules. That order makes it much easier to identify the cause if something behaves unexpectedly.
| Symptom | What to check first |
|---|---|
| Camera worked yesterday but is unavailable now | Check whether its local IP address changed; consider a DHCP reservation. |
| Camera is discoverable but no preview appears | Verify credentials and the selected stream/profile. |
| Video is unstable over Wi-Fi | Check signal strength, interference, distance, and whether Ethernet is practical. |
| Video works but alerts are constant | Tune detection sensitivity and masking rather than changing connection settings. |
| One camera works but another model does not | Check the second camera's protocol, codec, firmware, and stream details independently. |
For the original software-specific walkthrough, see the Security Eye manual page for adding an IP camera.
Security Eye is video surveillance software for Windows with IP camera and webcam monitoring, recording, motion detection, scheduling, notifications, and remote web access.