Configure Detection |
  
|
Configure Detection |
|
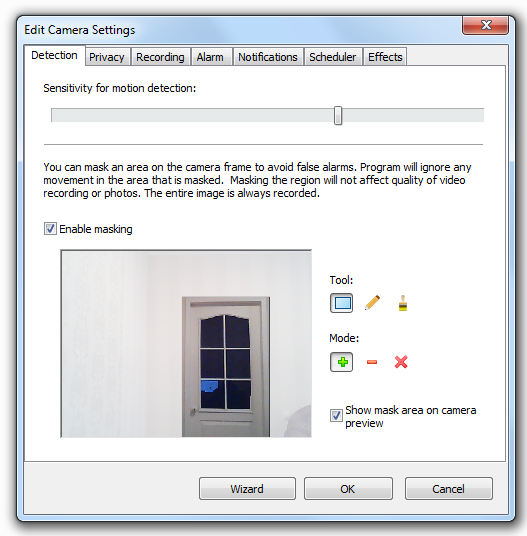
To ensure that the program will not be confused by the changes of light in the window in the room (it may "decide" that this is a movement of intruders), you need to adjust the sensitivity of the camera.
Once you have added a new camera (or opened a window for editing already available one), go to the tab "Detection":
Try changing the position of the slider until you find the optimum sensitivity. To do this, after you change the sensitivity, press OK. Turn on the speakers. Then move away from the camera to stay away from its field of vision.
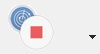
Click on the "Start Monitoring" button on toolbar:
![]()
Walk away from the camera, watching the reaction of the Security on your movements. It is necessary to make sure your slow movements don't cause the activation of a siren. And at the same time your habitual walking must be detected. After each test, turn off the monitoring by pressing the button
After that, change the position of the Sensitivity slider, save the settings and try again.
Adjust the sensitivity until it become optimal.
The second tool for adjusting detection level is Masking. You can mask an area on the camera frame to avoid false alarms. Program will ignore any movement in the area that is masked. Masking the region will not affect quality of video recording or photos. The entire image is always recorded.
As you can see on the above screenshot, all area except of the door is masked. This avoids false alarms of the detector in case of sunlight on the walls.
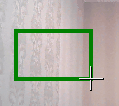
To create a mask area, select one of the tools: rectangle, pencil or brush. Then use cursor to draw a mask on the camera preview:
To erase some part of the masked area, you need to switch drawing mode to ![]() ("Substract"). The selected tool can be used as eraser now.
("Substract"). The selected tool can be used as eraser now.
To clear all mask, click "![]() ".
".